Last Updated on June 14, 2022 by Tech Queries Team
Here is a tutorial on How to Wrap Text in Google Sheets.
Google Sheets have several cells with different values. So, sometimes the data from one cell overlaps the data of another cell. However, by using the Text Wrapping feature, you can solve this issue. Moreover, Google Sheets has an advanced version of the Text Wrapping option with three sub-options. Here we will show to how to use it.
Also, check out How to Create a Drop Down Menu in Google Sheets.
Table of Contents
How to Wrap Text In Google Sheets:
- Open the Google Sheet.
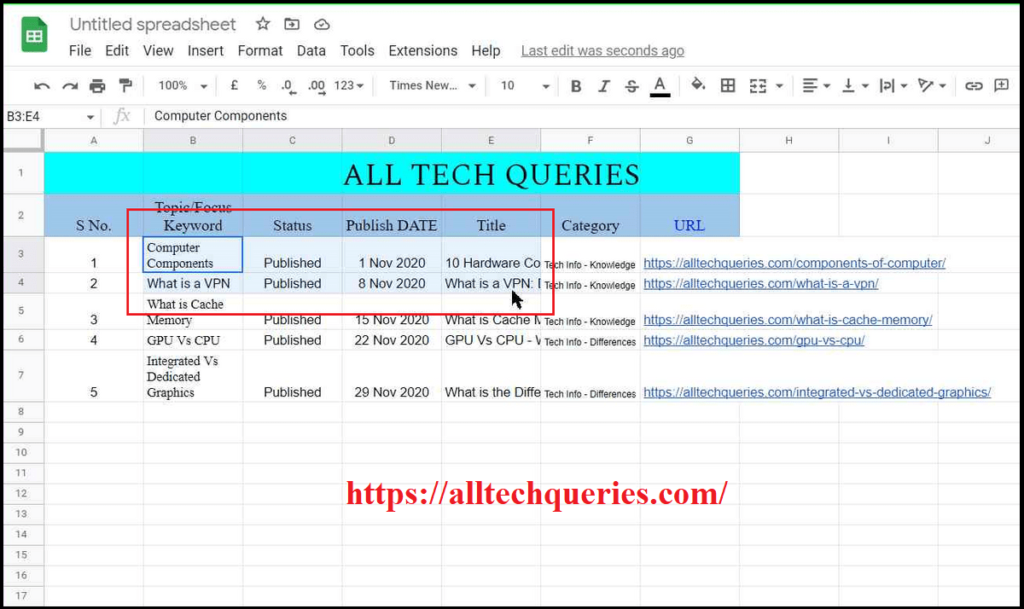
- You can select a single cell, a complete row, a column, or a group of cells.
- Go to the Format Menu and Hove over to the Wrapping option.
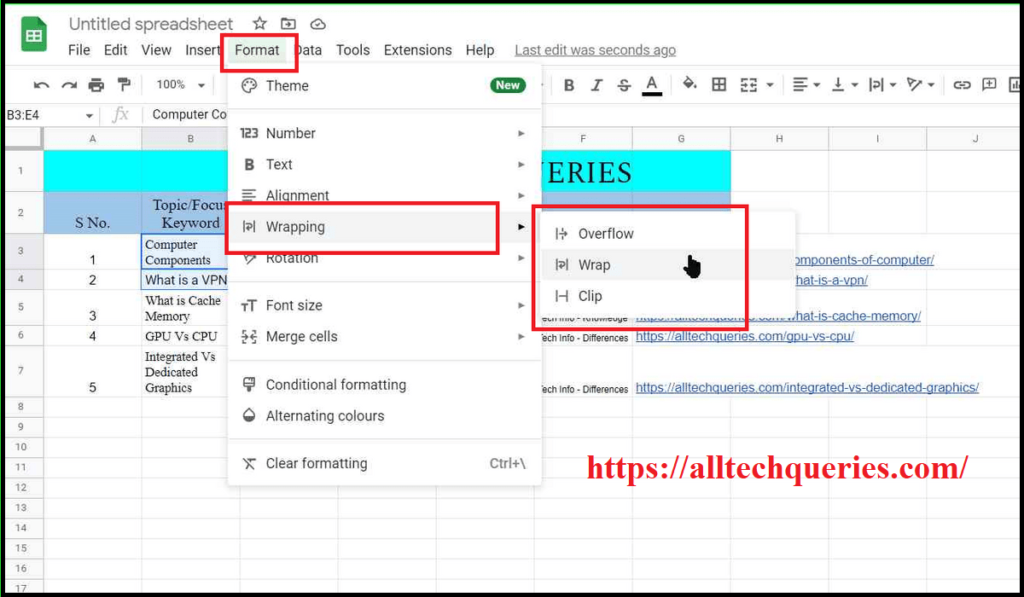
- Here, you will find three options that are
- Overflow
- Wrap
- Clip
You can choose any of the options. Let me explain what each option does.
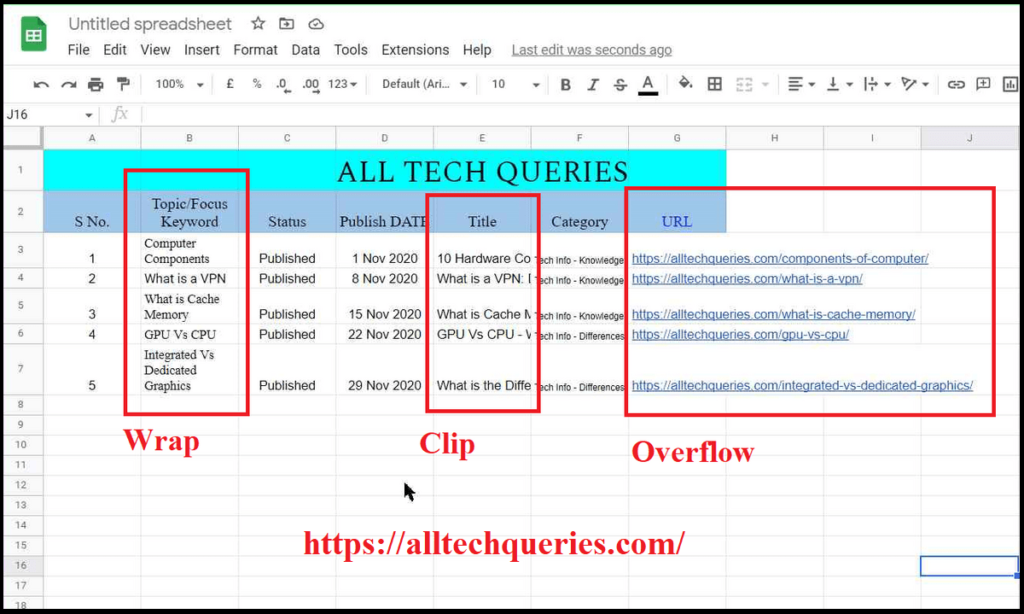
Overflow:
The data from the cell will overflow into other cells.
Wrap:
If the text exceeds the size of the cell, it moves the text to the next line. So, the size of the row will increase automatically.
Clip:
If the text exceeds the size of the cell, it will only show limited text. The exceeded text will be hidden.
As you can see in the image, we have selected the option wrap for the selected cells.
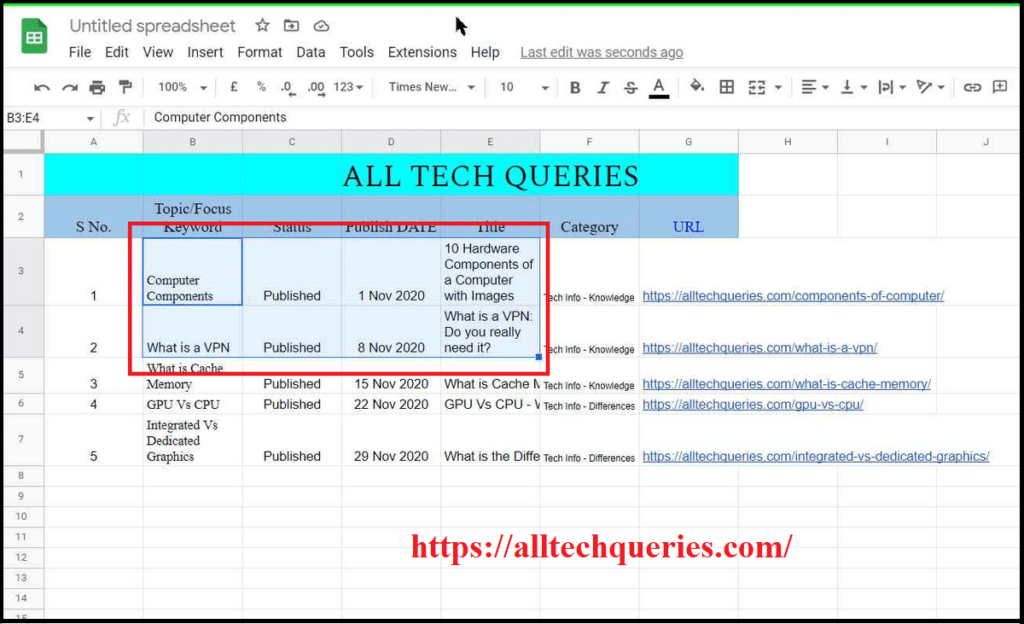
Therefore, you can choose the option that is suitable for you.
You can also change the vertical alignment of the text in the cells. You can align the text to the top, bottom, or center.
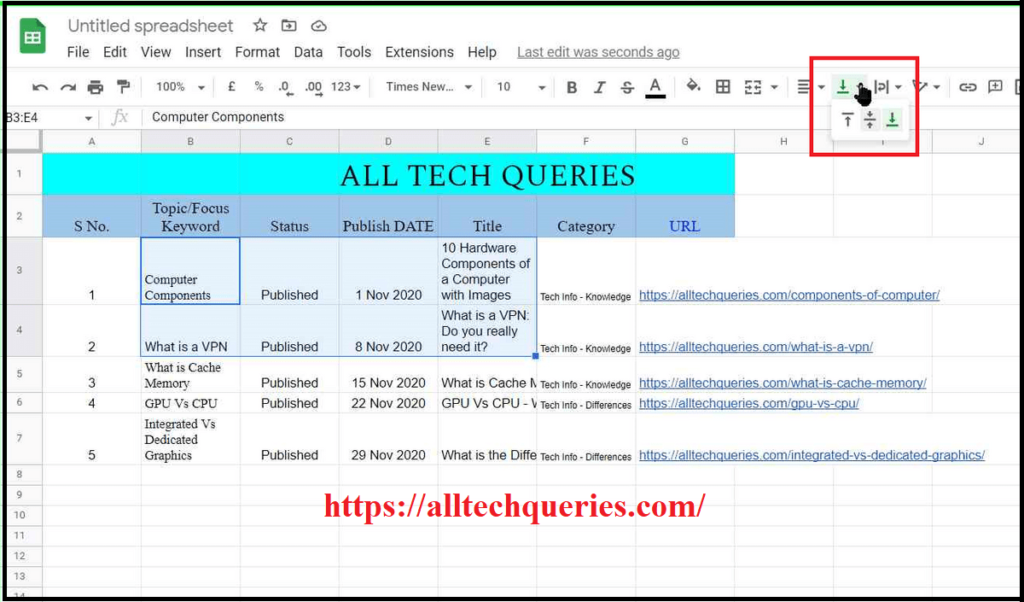
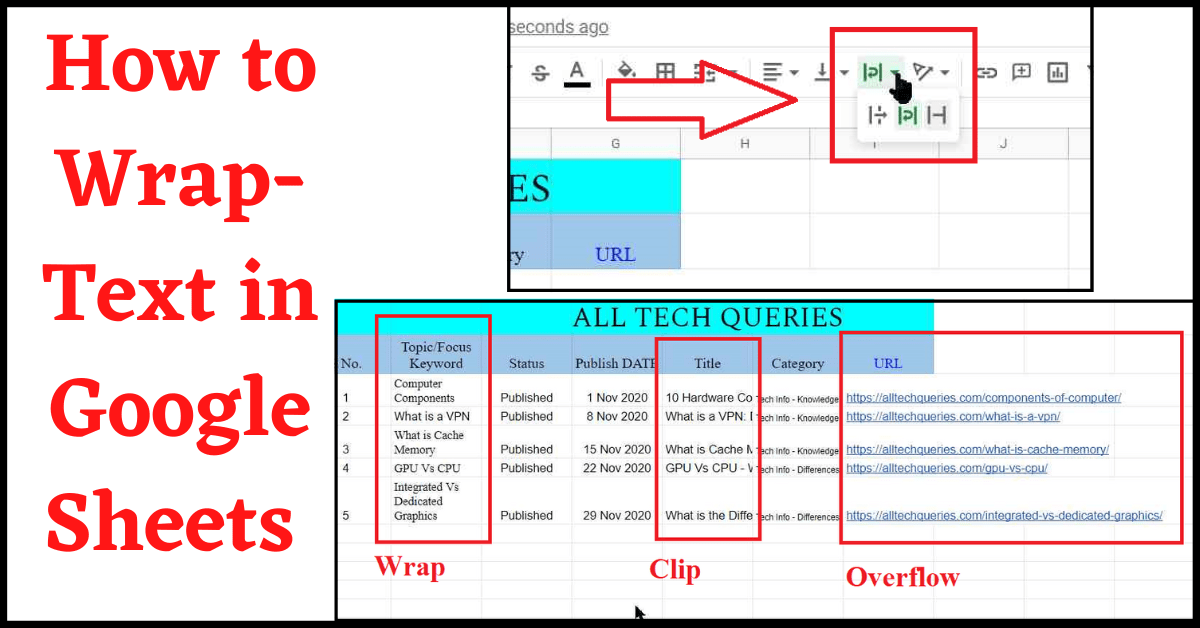
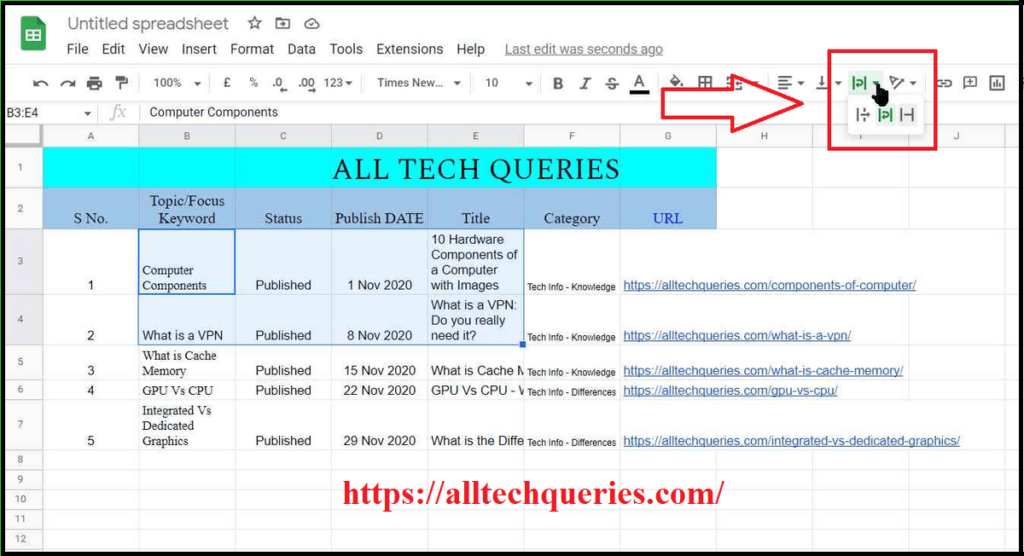
There is also a quick access icon in the toolbar for Wrapping Text. We have highlighted it in the below image.
Conclusion:
As we have mentioned before, Google Sheets offers three sub-options in the Wrapping Text option. You can choose any of the options, depending on your needs. This tutorial on How to Wrap Text In Google Sheets will help you in understanding and use the feature.

