Last Updated on June 29, 2024 by Tech Queries Team
If you have bought a New Windows 10/11 PC or upgraded your Operating System to Windows 11, you might face a minor issue sooner or later. That is, when you try to delete a file, your PC deletes the file immediately without showing any “Delete Confirmation Dialog” message. In previous versions of Windows, when we hit the delete button, the PC would show a Delete Confirmation Dialog asking “are you sure you want to delete the file”. If you really intended to delete it, you would click on the Yes button. Or, if it was a mistake, you would quickly hit the No button.
However, it may seem like this feature is missing in Windows 10 & 11. In reality, this feature is not missing but simply disabled by default. All you need to do is Turn ON Delete Confirmation Dialog in your Windows PC. Keep reading as we guide you through the step-by-step process to enable delete confirmation dialog, helping you prevent permanent file deletions.
In Windows 11 or 10, if you hit the delete button even by mistake, your file will be deleted. It is not a major problem if your Recycle Bin is Enabled. However, some users have a habit of deleting files using Shift+Delete keys, which is a keyboard shortcut for permanently deleting files without storing them in the recycle bin. Also, when you delete files with large sizes, they will be deleted permanently without getting backed up in the Recycle Bin. Therefore, it is wise to How to Turn ON Delete Confirmation Message in Windows and Prevent Accidental File Deletions.
Also, if you are one of the users who don’t see the recycle bin on the Desktop. You can check out this article on How to Hide/Show Recycle Bin on your Desktop.
Table of Contents
Turn ON Delete Confirmation Dialog:
There are two methods to Turn ON Delete Confirmation Dialog in Windows and Prevent Accidental File Deletions. One is through Recycle Bin options, and another method is through Registry Editor.
However, we will be showing ONLY the Recycle Bin method because playing with the Registry Entry data can be risky. Any unwanted and unexpected changes to Registry Editor may cause your Operating System to malfunction.
Hence, we suggest you follow the Recycle Bin method, which is easy and convenient, rather than approaching a complicated and risky process.
Here is a step-by-step solution on How to Delete Confirmation Message in Windows 10 with pictures.
The Problem:
- Here you can see a few sample folders
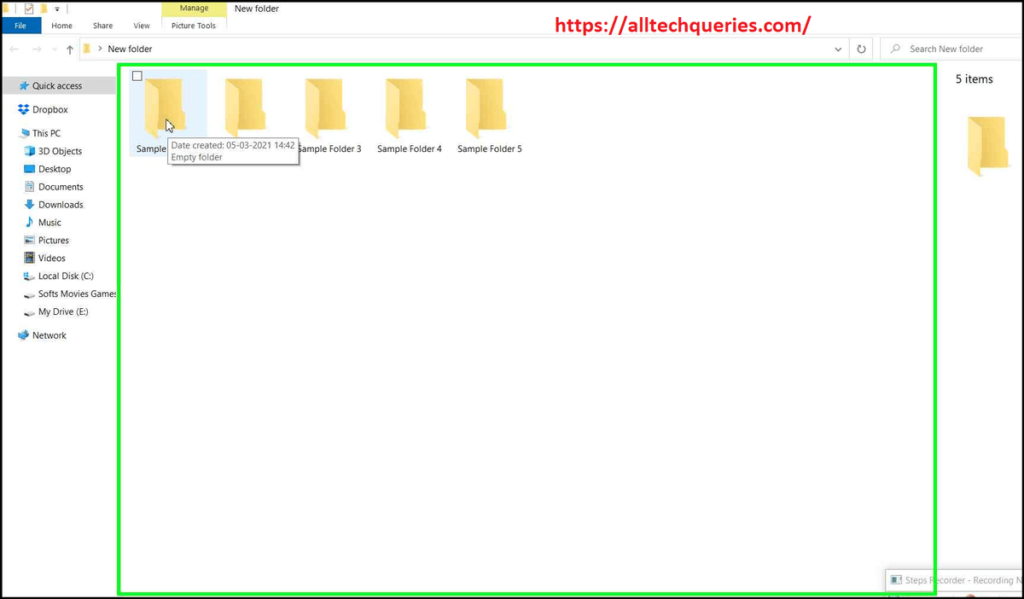
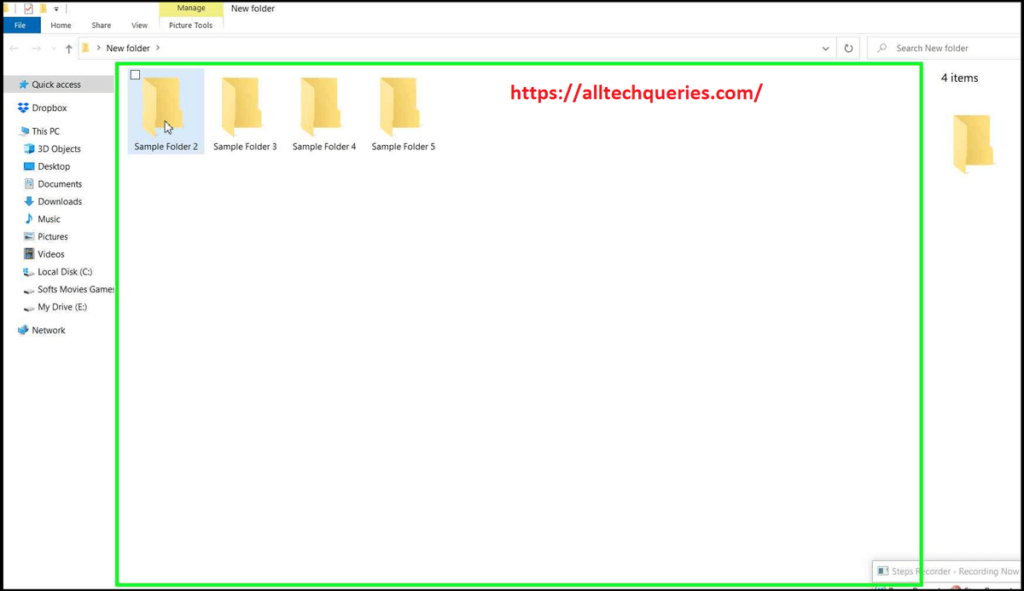
- As you can see, When I selected the Sample Folder 1 and clicked on Delete, the folder is deleted without any warning or “Confirm Delete” message.
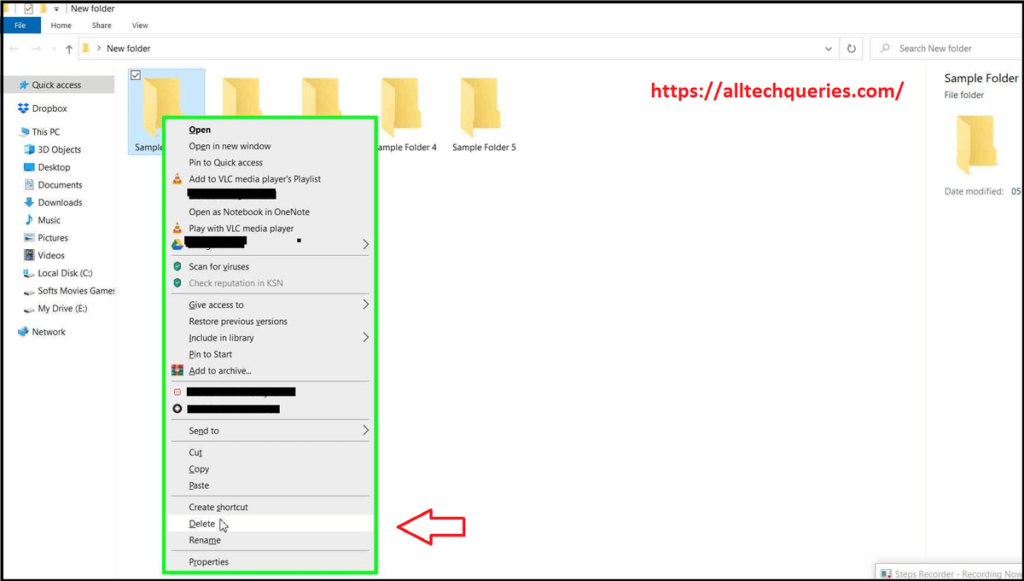
- The same happens when you press the Delete key on the keyboard.
The Solution (Confirm Delete):
- So, go to your desktop and right-click on your Recycle Bin.

- Next, click on Properties.

- Then Enable the option “Display Delete Confirmation Dialog” and click on Apply then OK.

- Now, as you see, when I delete the folder
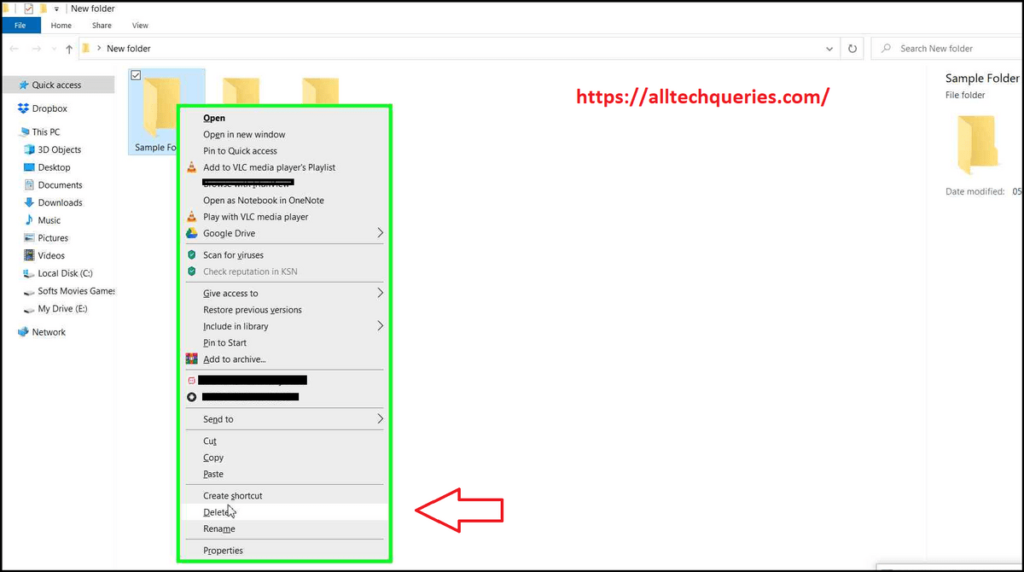
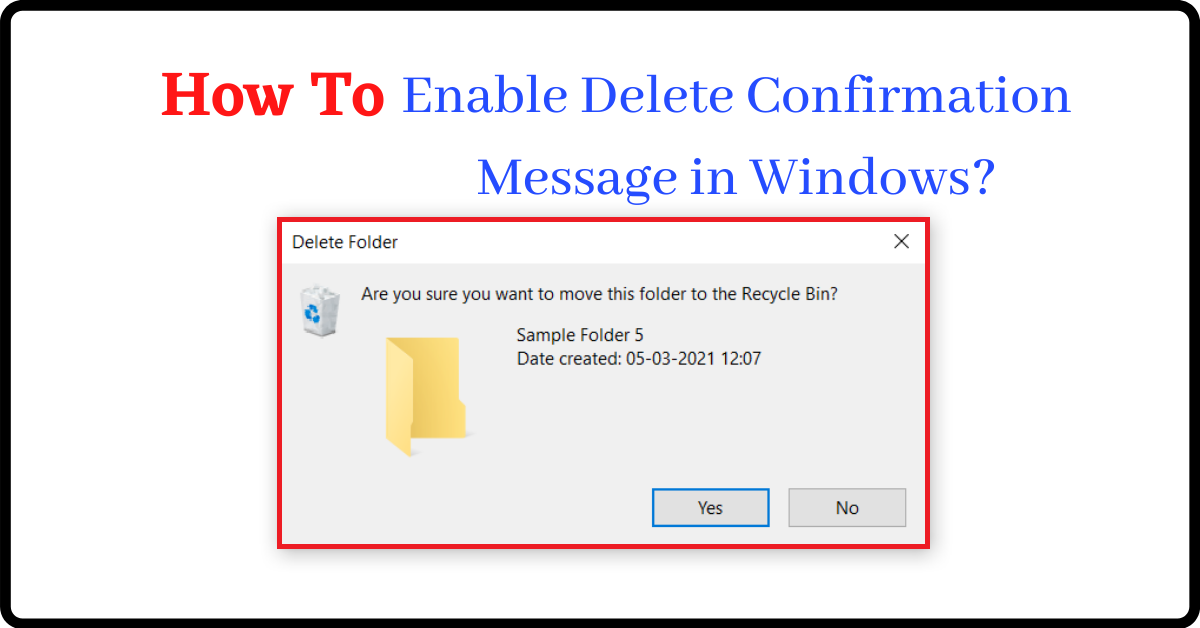
- A pop-up box appears asking “are you sure you want to delete” the folder.
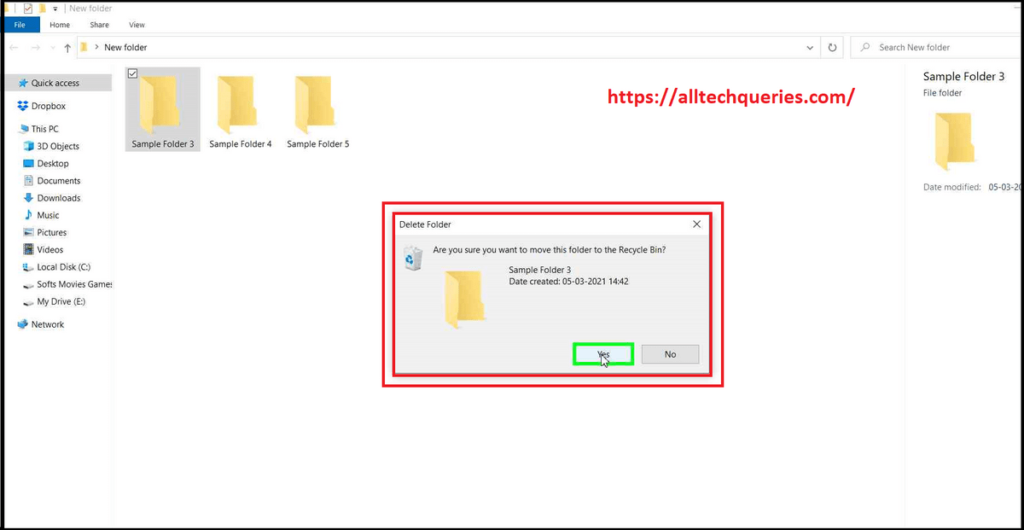
- So, you can go to the Recycle Bin options to Enable Delete Confirmation Message or Disable Delete Confirmation Message.
Conclusion:
Once your files are deleted from the Recycle Bin, it will either very hard or impossible to Recover Deleted Files. Therefore, We suggest you Turn ON Delete Confirmation Dialog in Windows to Prevent Accidental File Deletions.
For unknown reasons, the option seems to be turned off by default in the latest Windows 11 & 10 computers. So, do share this article with someone who has recently bought a new PC or upgraded their Windows Version to 10 or 11 so that they can prevent losing their precious files.

1 thought on “How to Turn ON Delete Confirmation Dialog in Windows and Prevent Accidental File Deletions”